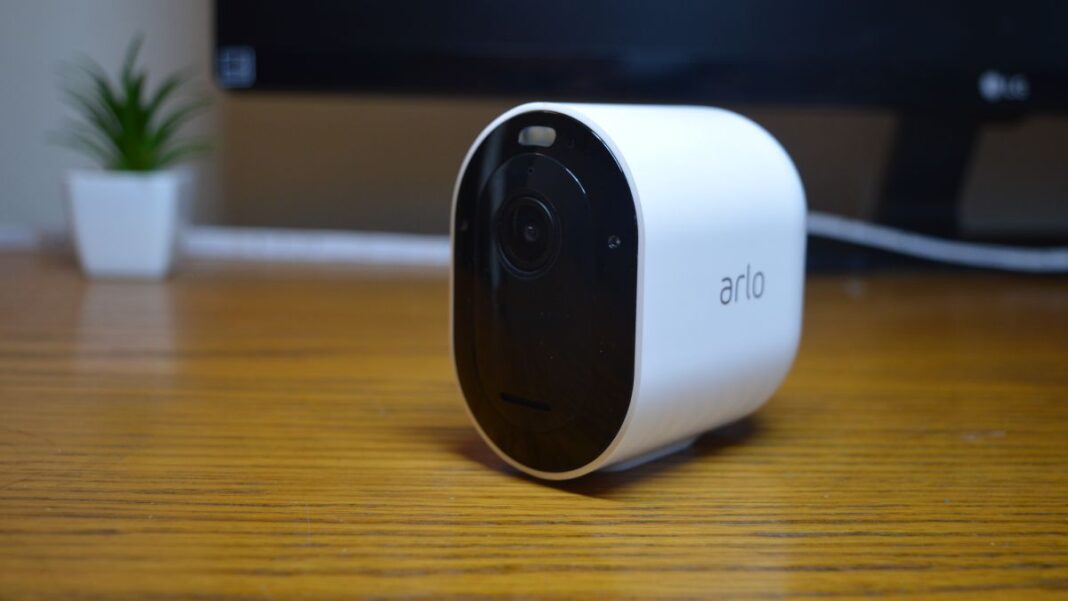
So, you have an Arlo camera? Congratulations! Get ready to protect your home day and night. In today’s world of potential threats, the Arlo cameras come with special features like:
- Built-in spotlights
- Sirens deter intruders
- Up to 4x more detailed video gives you the clear picture
- Extended battery gives you up to 365-days of surveillance without the need to recharge
However, to avail such features, you need to set it up. Don’t know how to set up Arlo? No worries! In this Arlo setup guide you will get best yet easy instructions to perform Netgear Arlo setup with ease. Let’s get started!
Things to Keep Handy
Prior to performing Netgear Arlo setup process, there are a couple of things that you must keep handy.
- A working Ethernet cable for connecting your Arlo base station and existing router
- Smartphone, tablet, wireless computer, or laptop
- Active internet connection
- Arlo app
- WiFi username and password
- Up-to-date web browser to access the Arlo’s default web address
Arlo Base Station Setup
Given below are the instructions required to perform Arlo base station setup Read on!
Step 1: First things first, turn on your Arlo base station.
Step 2: Grab a working Ethernet cable.
Step 3: Using the Ethernet cable, connect your Arlo base station to your existing router using an Ethernet cable.
Step 4: Wait for a couple of minutes. Let the LEDs on your Arlo base station turns green.
By the time you reach this step, the Arlo base station setup process will be completed.
Setup Arlo Cameras with Base Station
In order to setup Arlo security cameras with base station, here are the instructions to be followed. It is suggested, read the instructions first. Once you understand them, apply them. Doing so will make Arlo camera setup process a piece of cake for you.
Step 1: Open the Arlo’s battery compartment by pressing and pulling the latch on it.
Step 2: Insert the battery and close the compartment. Ensure that you have installed the battery in a proper way.
Step 3: Place your Arlo closer to the base station.
Step 4: Press and hold the sync button present on the base station for a couple of minutes.
Step 5: Thereafter, press the sync button on your Arlo camera as well.
Step 6: Wait for a few minutes for the LED on your base station to flash green.
Step 7: The LED of your Arlo security camera will start blinking green. It means that the sync process is successfully completed.
By following the instructions provided above, you will able to perform Arlo camera setup process with ease.
Register Your Arlo Account
After successfully completing Arlo camera setup and Arlo base station setup, you have to register your Arlo device. Do not ignore this step. Linking your Arlo device is more than important. Once you register your Arlo device, it will give you access to the recorded videos
from any device connected to the internet. You can also install the Arlo app to keep an eye on your home 24×7.
To register your Arlo, follow the steps highlighted below:
Step 1: Grab any device that is connected to an active internet connection.
Step 2: Go to Arlo setup page via arlo.netgear.com.
Step 3: From the displayed menu, select the Arlo camera you have installed.
Step 4: Sign in using valid email ID/ phone number/ username and password.
Step 5: Click on Sign In.
In this way, you can register your Arlo device.
In a Nutshell
Arlo cameras are one of the best security devices that you can opt today. It is very easy to install. As you have applied the instructions provided above. Arlo camera setup and Arlo base station setup process gets completed in minutes, right? Apart from this, you can even install the Arlo security cameras in remote locations, and stream clear 1080p colour video to your phone, at time of night or day. Additionally, with an Arlo Secure subscription, you can even store the videos safely in the cloud for up to 30 days. So you have a record of every activity.
Now, we are going to end this Arlo setup guide. We hope that the information and instructions we have provided here was helpful.


